Agromeliorative Soil Preparation and Deep Tillage
Content generated by artificial intelligence — verify before application
This article was automatically compiled from a collection of hazelnut literature with the help of artificial intelligence and may contain errors or outdated information. It serves as a starting point for further research, not as professional advice. Dosages, products, and timing are informative and depend on the cultivar, location, and current regulations — always consult with an advisory service and official sources before application.
A hazelnut orchard is a long-term investment that remains in the same location for 30 years or more, and deep soil tillage is the only agrotechnical measure that can be performed throughout the entire depth of the future root system — and this can only be done once, before planting. Once the trees have grown, deeper soil layers become inaccessible for any intervention. Therefore, agromeliorative preparation (rigging, subsoiling, breaking up impermeable layers, plowing, and leveling with weed removal) is a decisive step that must not be rushed or shortened: the orchard's drainage, aeration, rooting depth, and consequently, the speed of entry into production and the magnitude and regularity of yield depend on it in the long term. This article explains the goal, techniques, depths, timing, and typical mistakes of deep soil tillage for hazelnut.
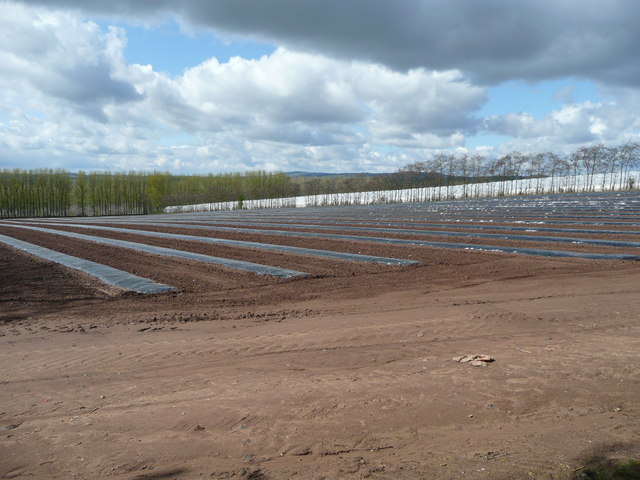
Why deep tillage is crucial specifically for hazelnut
The hazelnut root system is relatively shallow — the densest layer of roots is at a depth of about 40 cm — but it spreads and branches out only as much as the soil allows. If there is a compacted or impermeable horizon below the plow layer, the roots do not penetrate it, water gets trapped ("plow pan," a compacted sub-surface layer), and during dry periods, the plant has no access to moisture from deeper layers. The goal of deep tillage is to create a deep, loose, well-aerated, and permeable profile into which roots can freely penetrate.
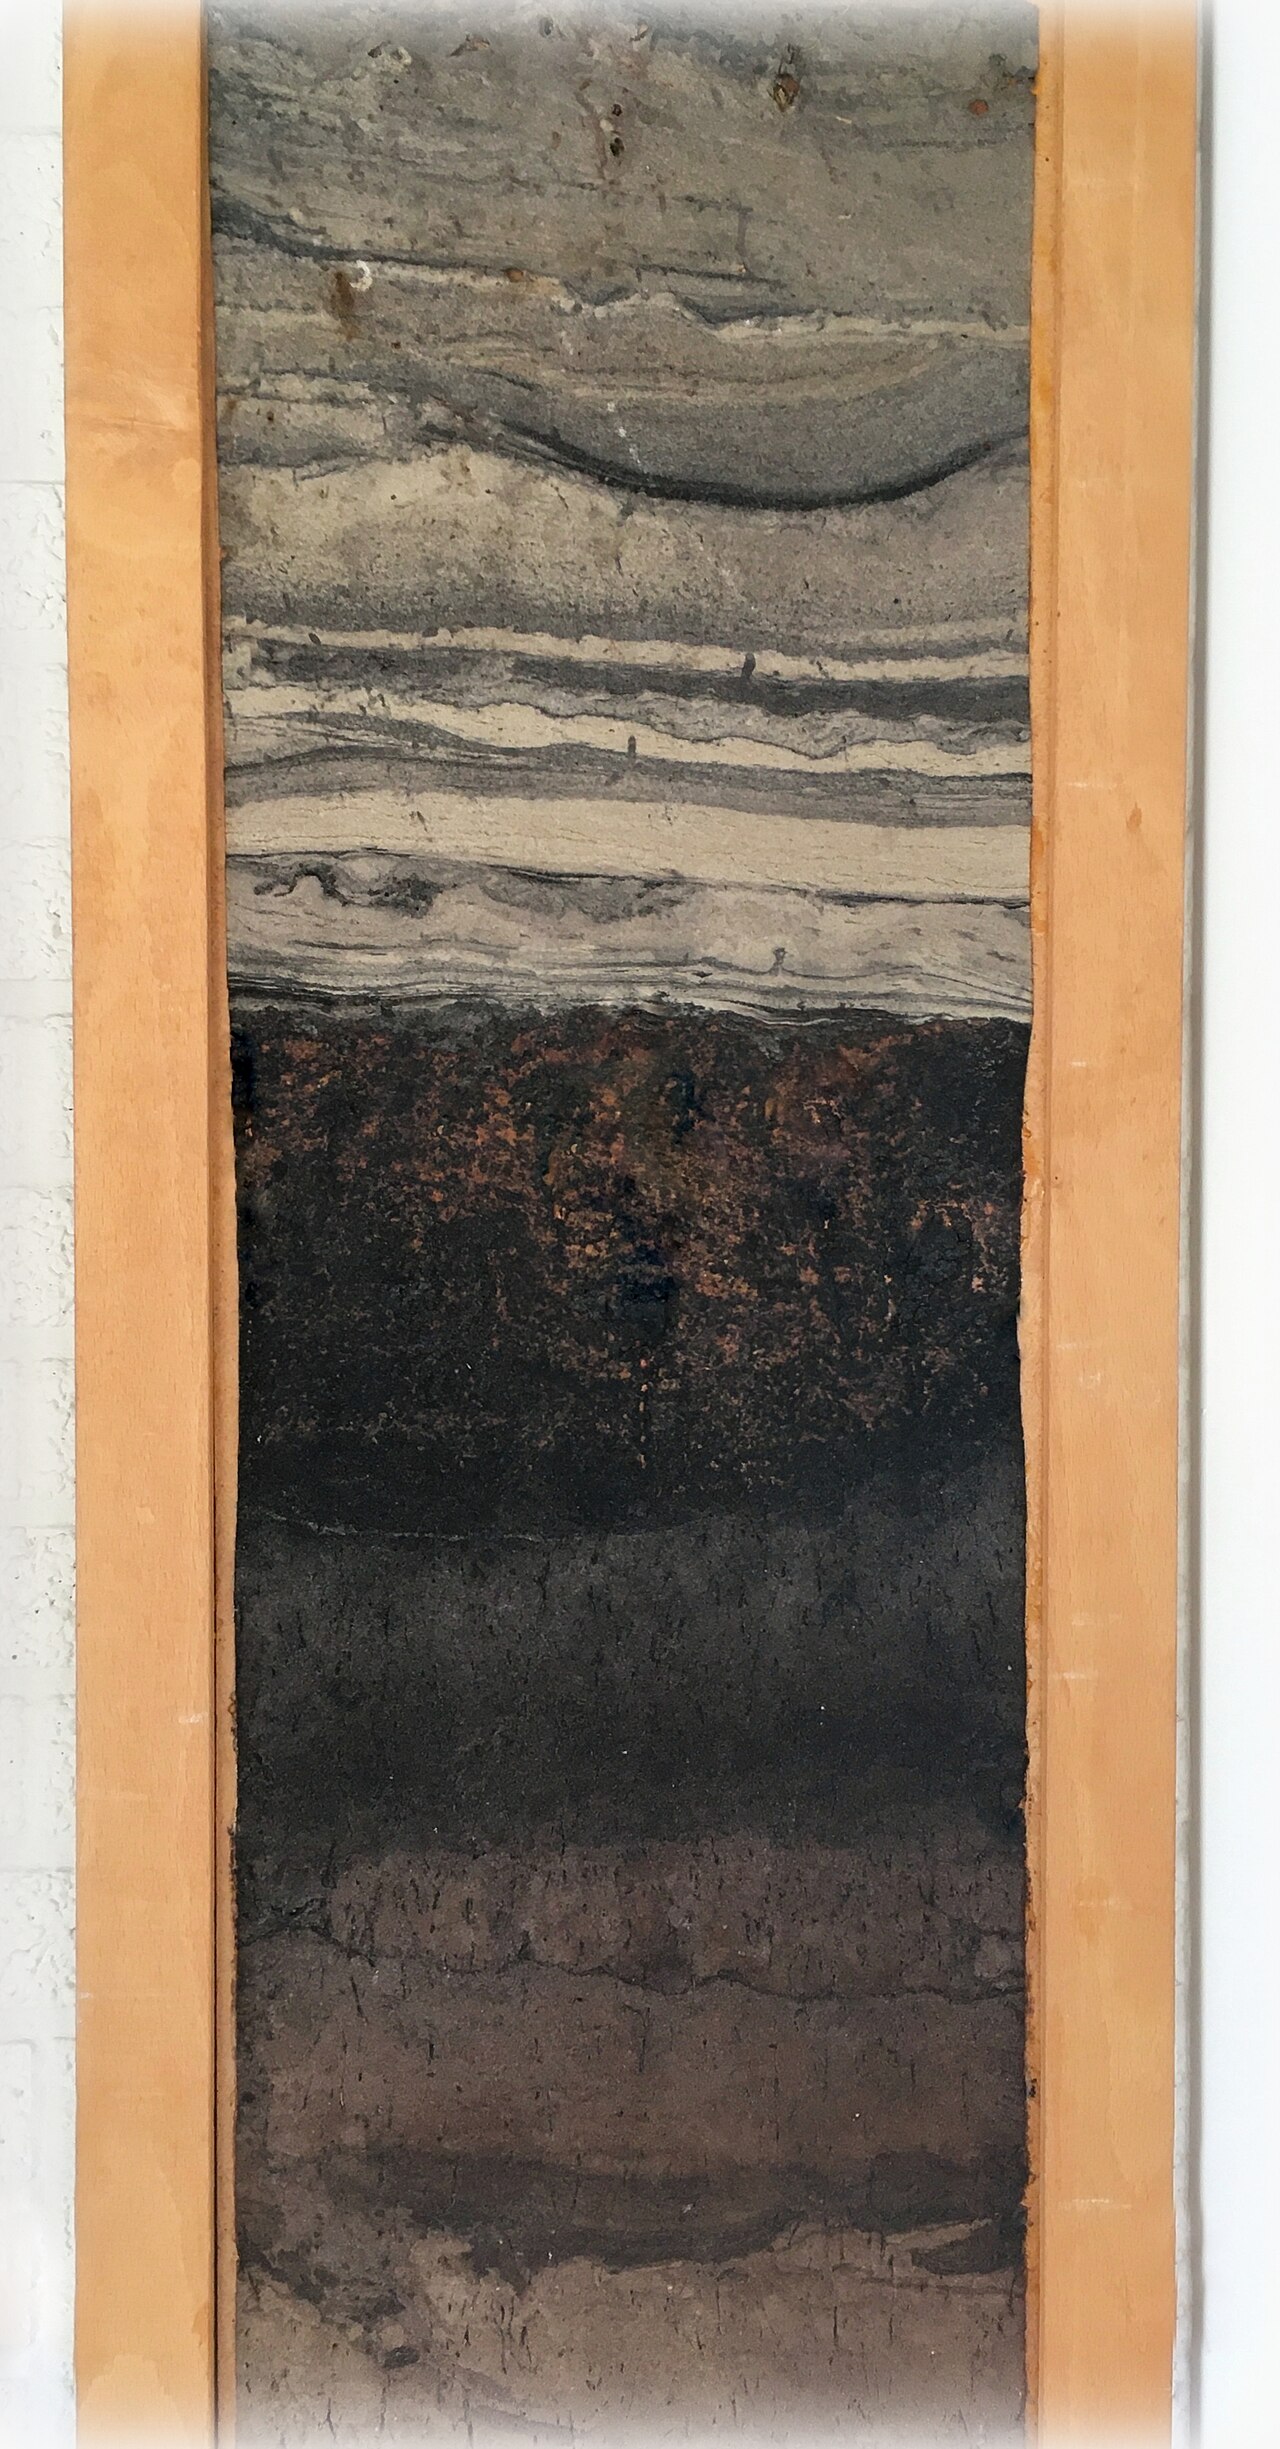
Deep tillage achieves several effects simultaneously:
- loosening the soil throughout the depth and increasing its total porosity and volume;
- improving the water-air regime — excess water drains faster, and loose soil has a high capacity to receive and store winter moisture for a dry summer;
- faster soil warming in spring due to better drainage;
- deep incorporation of nutrients (ameliorative fertilization) into the zone that will no longer be reachable later;
- creating favorable conditions for mycorrhiza development on the roots, which contributes to tree growth, productivity, and health.
Key Figure
The densest layer of hazelnut roots is located at a depth of about 40 cm. Therefore, ameliorative fertilization and deep tillage must be carried out before planting — subsequent intervention in deeper layers is no longer possible. (Hazelnut Cultivation Guide, Ministry of Agriculture / Advisory Service, 2024.)
Sequence of operations in plot preparation
Agromeliorative preparation is not a single operation but a series of steps that follow a logical order. A typical sequence looks like this:
- Vegetation removal and site clearing — mowing/mulching, clearing perennial vegetation and trees, stump removal.
- Leveling and coarse grading — filling depressions, leveling boundaries with heavy machinery, constructing terraces on steep terrain.
- Soil chemical analysis — the basis for decisions on fertilization and liming.
- Ameliorative (agromeliorative) fertilization and liming — spreading fertilizers and lime materials over the entire area.
- Deep tillage — rigging or subsoiling, which incorporates the applied nutrients into the depth and breaks up the compacted layer.
- Supplementary (final) tillage — harrowing, tilling, or rotary tilling to crush clods and prepare a fine seedbed for planting.
- Row marking (layout) of rows and planting spots.
Important: Soil chemical analysis and ameliorative fertilization typically precede deep tillage. Only in this way do the spread mineral and organic fertilizers and lime materials reach the future root zone via deep plowing/rigging, rather than remaining only on the surface.
Rigging (Deep Plowing)
Rigging is a classic form of deep tillage — deep turning of the soil using single-furrow plows of large dimensions (riggers). The soil is turned and mixed throughout its depth, which partially moves the humus-rich surface layer into the depth and brings deeper layers to the top.
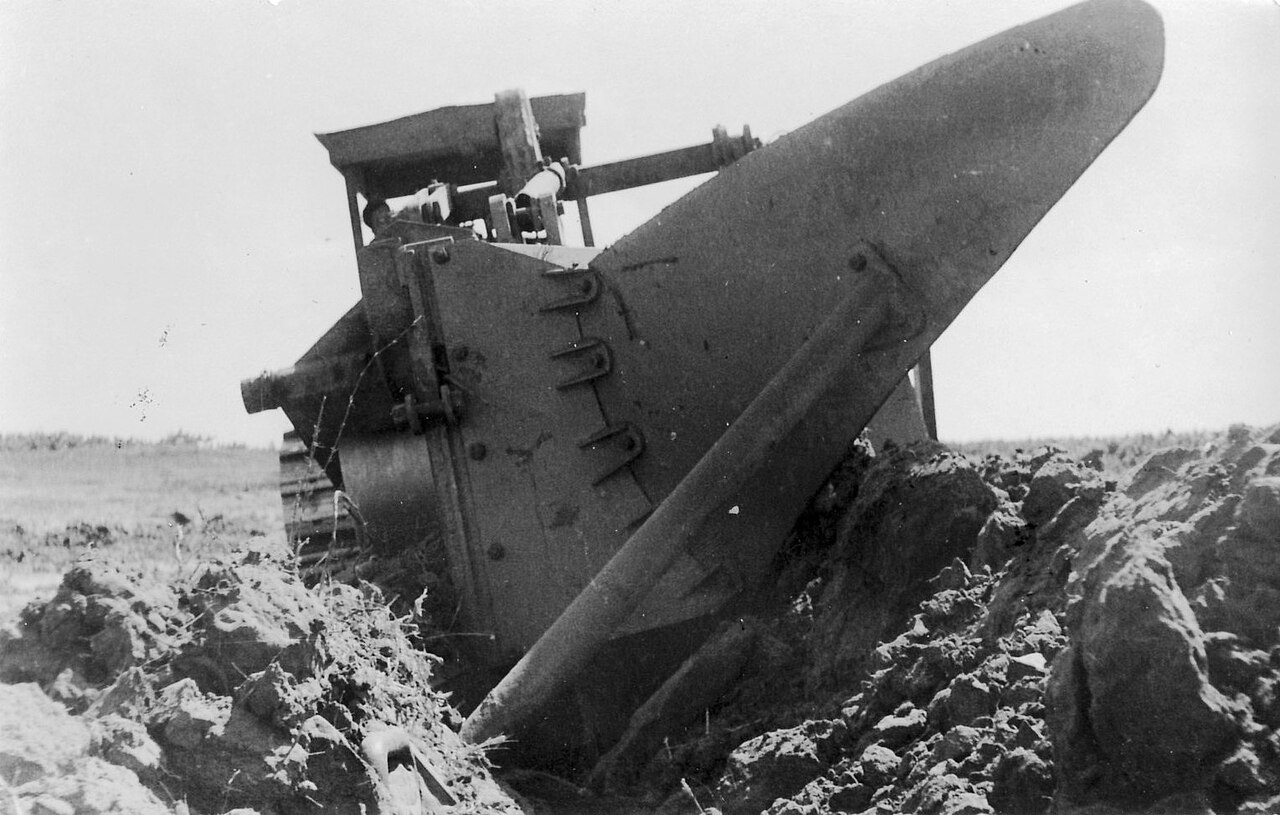
Characteristics of proper rigging:
- riggers can plow to a depth of 80 cm;
- an equal ratio of depth to furrow width allows proper "sliding" of the humus layer into the upper third of the rigging depth;
- it is carried out during a dry season (summer or early autumn), when the soil is well dried — never when it is excessively wet and in unfavorable consistency;
- the goal is the creation of soil aggregates (clods) sized 0.2–5 cm, ideal for further tillage;
- after rigging, the surface must not remain overly ridged, as this complicates supplementary tillage, and water accumulates between the ridges over winter, leading to uneven freezing.
How deep to rig?
Depth depends on the soil type and the location of the impermeable layer. According to literature, rigging is divided into three depth categories:
| Rigging Degree | Depth | Typical Application |
|---|---|---|
| First (shallow) | 50–100 cm | Lighter soils, shallower roots |
| Second (medium) | 100–150 cm | Heavier soils, deeper impermeable layer |
| Third (deep) | over 150 cm | Special cases for correcting heavy soils |
For hazelnut, due to the shallower root spread, the following is often sufficient in practice:
- lighter soils — loosen shallower, not deeper than ~60 cm;
- heavier soils — plow/rig until the impermeable layer is broken;
- typical range for an orchard/hazelnut plantation: 40–60 cm, and deeper for extremely heavy soils.
Some plans for establishing hazelnut orchards state that, due to the shallower roots, "rigging to 40 to 50 cm is sufficient," with the note that success is crucially dependent on the timing of execution, achieving the necessary depth, and the technique of turning and arranging furrows.
Depths — Informative
All mentioned depths are indicative and depend on soil texture, the position of the impermeable layer, moisture, and available machinery. Before undertaking the work, check the profile status by digging a soil pit and consult a pedological report.
Subsoiling — Deep Loosening Without Turning
In recent years, instead of classic rigging, subsoiling is increasingly recommended — deep loosening of the soil without turning. Vibratory subsoilers (subsoilers with vibrating working bodies) have proven particularly effective.
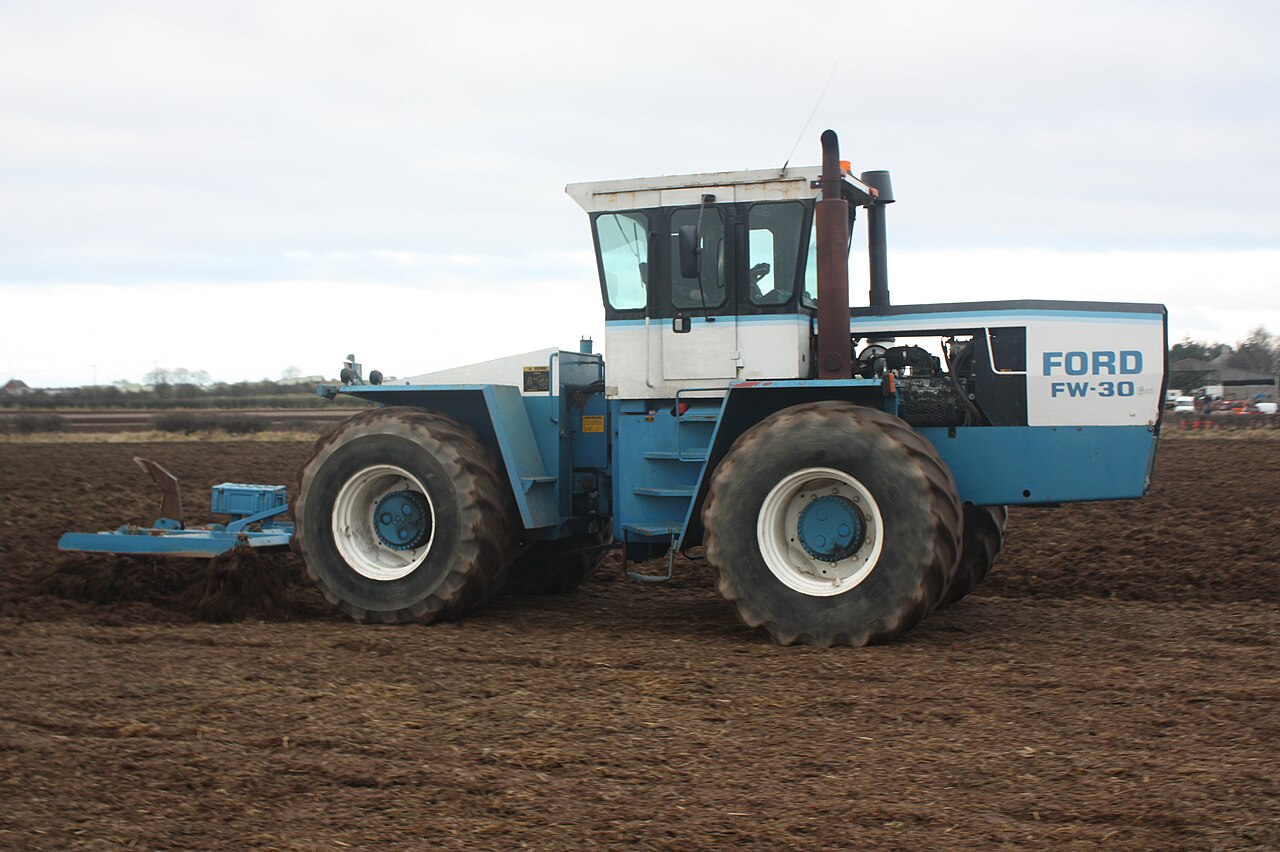
Advantages of subsoiling compared to rigging:
- the soil is not turned but only loosened to the desired depth, so the profile stratification and humus position are not disturbed;
- it is faster and cheaper than rigging;
- it increases soil volume and improves total porosity and the water-air regime;
- the vibrating working body effectively crushes compacted layers with lower draft resistance.
Limitation: Subsoiling loosens the soil less intensively than rigging and does not provide deep mixing (incorporation) of nutrients, so on heavily compacted or heavily weeded surfaces, careful planning of combined operations is necessary.
In practice, when establishing permanent orchards, a combination is often used: subsoiling to break the deep compacted layer + plowing/harrowing to prepare the surface. One documented example from practice mentions preparation with a reversible plow combined with a subsoiler with a single working body.
Breaking Up Impermeable and Compacted Layers
The most common "hidden" problem on plots intended for an orchard is the compacted sub-surface layer — the so-called "plow pan" (plow pan), left over from long-term shallow tillage or trampling by heavy machinery. Such a layer acts as an impermeable plate: roots do not penetrate it, water above it stagnates (waterlogging), and water below it remains inaccessible.
How to recognize a compacted layer:
- digging a soil pit reveals a suddenly harder, compacted horizon (often at 25–45 cm depth);
- a penetrometer (resistance meter) registers a sudden spike in resistance;
- after rains, water stands on the surface or in shallow depressions for a long time;
- shallower, "pancake-like" root distribution of previous crops.
How to break it up:
- subsoiling/deep ripping must reach below the compacted layer — the tool must enter deeper than the compaction, with sufficient power from the towing vehicle;
- in foreign practice (e.g., Pacific Northwest fruit growing), two passes, one in each direction (the second diagonal to the first) are recommended to completely break the layer in both directions;
- the operation is performed on dry soil — on wet soil, the subsoiler only "cuts" a notch that quickly closes, without actual loosening;
- after breaking the impermeable layer, drainage (ditches) often needs to be addressed if the cause of water retention is high groundwater, not just compaction.
| Profile Problem | Measure | Note |
|---|---|---|
| Compacted "plow pan" | Subsoiling/ripping below the layer | Mandatory on dry soil; possibly 2 passes |
| Shallow soil over impermeable substrate | Deep rigging + drainage | Consider if the terrain is suitable at all |
| High groundwater | Drainage system | Subsoiling alone does not solve the problem |
| Acidic soil | Liming before tillage | Incorporate lime materials via deep tillage |
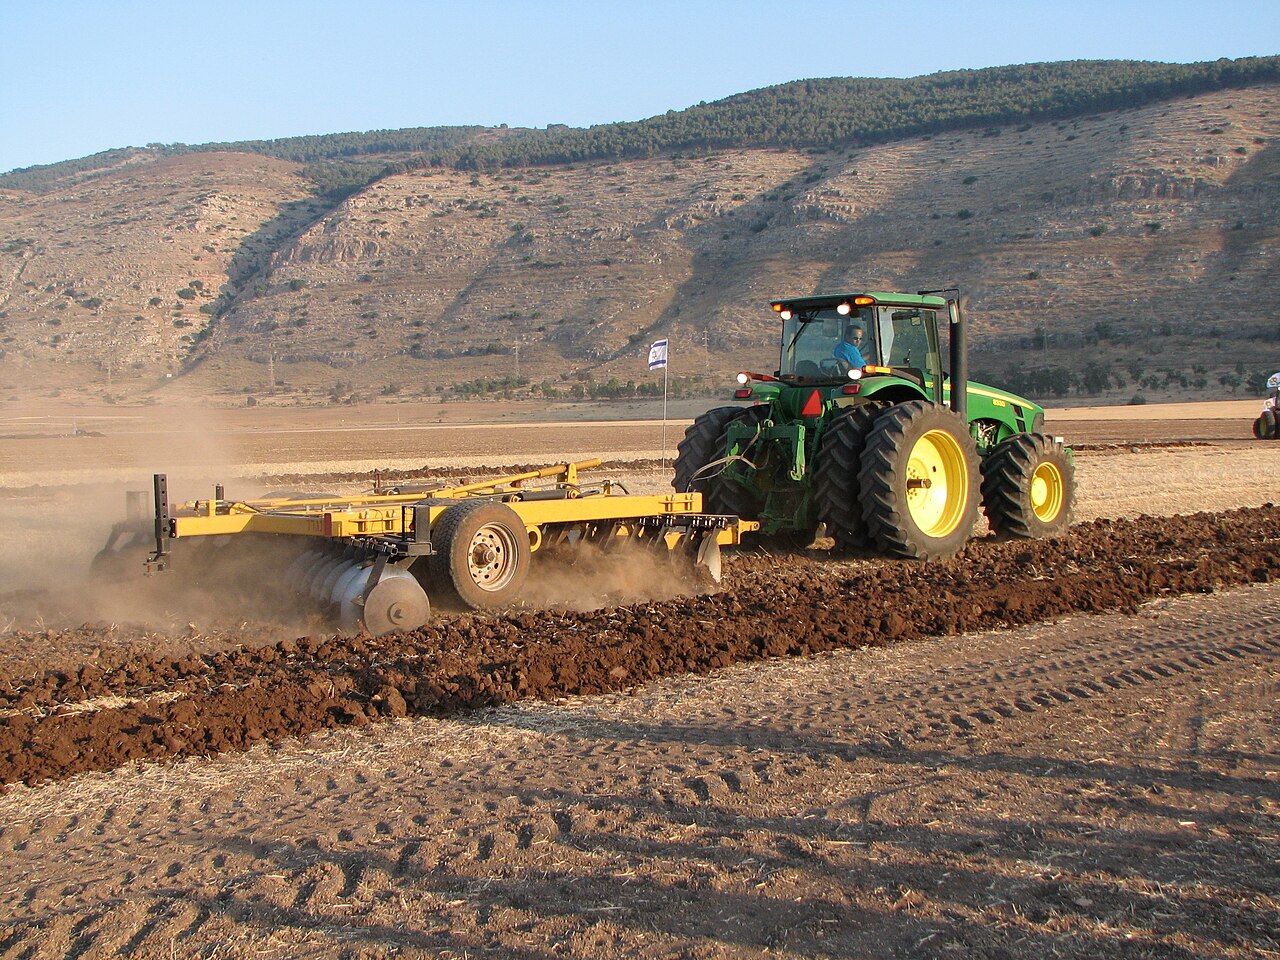
Plowing, Leveling, and Final (Supplementary) Tillage
After (or as part of) deep tillage, shallower, "modeling" operations follow to prepare a fine seedbed for planting.
- Plowing (classic, e.g., to a depth of about 30–40 cm) serves to incorporate mineral and manure fertilizers into the future root zone. During deep plowing, mineral fertilizer, previously spread evenly over the leveled surface, enters the soil to the plow depth.
- Leveling (grading) removes ridges and depressions. After rigging, the surface must not remain ridged; water accumulates between ridges in winter, leading to uneven freezing. A flat surface is also a prerequisite for later mechanical hazelnut harvesting, which is done by collecting nuts from the ground.
- Final tillage immediately before planting — harrowing, tilling, rotary tilling — crushes clods and creates a loose seedbed into which planting is easy.
Leveling and Mechanical Harvesting
Hazelnuts are increasingly harvested mechanized, by collecting nuts from the ground. The quality of leveling at the soil preparation stage directly affects the efficiency and cleanliness of harvesting years later. Investment in leveling now pays off throughout the orchard's lifespan.
Weed removal prior to orchard establishment
Weed control is easiest and most effective before planting, while the entire plot is clear. It is particularly important to remove perennial and rhizomatous weeds (e.g., quackgrass, bindweed, thistles) which are very difficult to control later, among young plants and within the protective strip.
Pre-planting measures:
- mechanical cleaning — mowing/mulching the entire vegetation cover, clearing woody vegetation, removing stumps and roots;
- repeated tillage (plowing, harrowing, rotary tilling) depletes the root reserves of perennial weeds;
- as needed, herbicides for weed control before planting, according to the label and current approvals;
- a practical tip: during ameliorative fertilization before planting, avoid nitrogen — high nitrogen on an empty plot promotes vigorous weed growth. (In a documented example, a nitrogen-free formulation, e.g., 0:20:30, was used specifically for this purpose.)
After planting, the strategy changes:
- in the row (protective strip) — a strip approximately 30% of the inter-row spacing is kept clean, using mechanical control with machinery equipped with movable working elements or approved herbicides; the strip should be kept clean from early spring to autumn, especially in the first years;
- in the inter-row space — a managed turf is usually established and regularly mowed (mulching);
- in orchards on own roots, it is particularly important to control root suckers, which draw large amounts of water and nutrients from the soil, hinder harvest, and deplete the mother tree.
Timing: when to perform which operation
Timing for deep tillage is just as important as depth. The rule is simple: deep tillage on dry soil, planting in autumn.
| Period | Operation | Note |
|---|---|---|
| Spring / early summer | Soil analysis, cleaning, leveling | Preparatory work |
| Summer (dry) | Subsoiling / deep ripping / deep plowing | Soil dried out; summer heat and rains break up clods |
| Early autumn | Ameliorative fertilization (application), supplementary tillage | As needed before/alongside deep tillage |
| Autumn | Planting (recommended) | Prepare the soil no later than the end of October |
| Winter | Freezing of ridges (for spring planting) | Freezing/thawing further loosens the soil |
| Spring | Leveling and planting (less recommended) | Only if autumn planting is not possible |
Key guidelines:
- For autumn planting (recommended) deep plowing/subsoiling is performed during the summer — summer heat and occasional rains promote clod breakdown.
- For spring planting (less recommended) deep tillage can be performed from summer until winter, if soil moisture allows; the soil is ripped in autumn, and the surface is leveled in spring after freezing and breaking up the top layer.
- Final, fine preparation (rotary tillage, harrowing) should be performed immediately before planting.
- Soil for autumn planting should be prepared no later than the end of October.
Ameliorative fertilization with deep tillage (brief overview)
Although fertilization is a separate topic, it is inseparable from deep tillage because nutrients must be incorporated into the depth while it is still possible. Orientation doses cited in literature for ameliorative ("reserve") fertilization during orchard establishment:
| Material | Orientation Dose | Note |
|---|---|---|
| Mineral NPK fertilizers | 1,200–3,000 kg/ha | e.g., NPK 7:20:30, 8:26:26, 5:15:30, MAP, KCl |
| Organic fertilizers (manure/compost) | 25–50 t/ha | Increases organic matter and structure |
| Lime materials (CaCO₃) | 4–12 t/ha | Only on acidic soils, based on pH test |
Doses are indicative
The quantities listed are indicative and depend on soil analysis results, cultivar, location, and current regulations/labels. Determine exact doses exclusively based on chemical soil analysis and recommendations from the advisory service.
Practical recommendations and common mistakes
Recommendations:
- Always soil analysis and profile pit first, then decide on depth and type of tillage.
- Perform deep tillage on dry soil — this is the most important rule.
- Incorporate nutrients and lime before/alongside deep tillage to reach the root zone.
- Plan breaking up the compacted layer below the depth of compaction, if necessary in two passes.
- Level the surface well — for freezing reasons and for future mechanical harvest.
- Eliminate perennial weeds while the plot is empty.
Common mistakes:
- Tilling wet soil — creates new compacted layers and "smearing" of furrow walls; damage instead of benefit.
- Too shallow tillage that does not penetrate the impermeable layer — roots remain trapped above it.
- Ridged, uneven surface after subsoiling — retains water, causes frost heave, and hinders harvest.
- Forcing spring planting without autumn subsoiling and freezing.
- High nitrogen on an empty plot — vigorous weed growth before plants are even planted.
- Forgotten drainage — subsoiling does not solve high groundwater problems.
- Skimping on leveling and cleaning — mistakes from this phase "cost" the orchard for the next 30 years.
Gallery
Sources
This article is an AI summary compiled from an internal collection of hazelnut literature (RAG corpus) and public web sources. Main sources used:
- Hazelnut Cultivation: GUIDE FOR — Ministry of Agriculture / Advisory Service (2024.) — https://www.savjetodavna.hr/
- Environmental Protection Study — Establishment of a permanent hazelnut and plum orchard (Grubišno Polje, 2020.) — https://bbz.hr/doc/uprava/elaborat_zastite_okolisa_visegodisnji_nasadi_lijeske_i_sljive.pdf
- Environmental Protection Study — Establishment of hazelnut orchard, Vojnić Municipality (AGRO UTINJA, 2021.)
- Environmental Protection Study — Establishment of hazelnut orchard (Pecki/Čuntić, Sisak-Moslavina County, 2020.)
- Mechanization in hazelnut production and processing (Minas-Zrno, 2021.)
- Investment Study for the production of innovative hazelnut-based products (2019.)
- Economics and orchard establishment on a family farm (2021.)
- Krpina et al. (2004.); Šoškić (2006.); Manušev (1988.) — cited in the aforementioned literature
- Hazelnut Cultivation — Agricultural Forum (2007.)
- Agroklub: "Subsoil or Deep Rip?" — https://www.agroklub.com/vinogradarstvo/rigolati-ili-podrivati/29926/
- Agroklub: "Establishing a permanent orchard, from subsoiling to planting" — https://www.agroklub.com/vocarstvo/podizanje-trajnog-nasada-od-podrivanja-tla-do-sadnje/63838/
- Pinova: "Soil preparation for vineyard planting" — https://pinova.hr/priprema-tla-za-sadnju-vinograda/
- HAPIH — Technological Guidelines for Orchards (2023.) — https://poljoprivreda.gov.hr/
- OSU Extension: Growing Hazelnuts in the Pacific Northwest — Orchard Site & Floor Management — https://extension.oregonstate.edu/catalog/pub/em-9079-growing-hazelnuts-pacific-northwest-orchard-floor-management
- Midwest Hazelnut / University of Minnesota: Growing Hybrid Hazelnuts; Establishment fact sheets — https://www.midwesthazelnuts.org/
- Sacramento Valley Orchards: Orchard Soil Preparation — https://www.sacvalleyorchards.com/walnuts/orchard-development/orchard-soil-preparation/