Practical hazelnut planting: holes, depth, and timing
Content generated by artificial intelligence — verify before application
This article was automatically compiled from a collection of hazelnut literature with the help of artificial intelligence and may contain errors or outdated data. It serves as a starting point for further research, not as professional advice. Dosages, products, and timelines are informative and depend on the cultivar, location, and current regulations — always consult with an advisory service and official sources before application.
Planting is the moment that decides the fate of the orchard for the next few decades. Hazelnut (Corylus avellana) lives for 70 to 100 years and enters production between the third and seventh year — a mistake made at planting (planting the sapling too deep, poorly prepared hole, wrong timing, or lack of watering) is paid for with years of growth lag and poor establishment. This guide walks through practical planting step by step: preparing and digging holes, planting depth, positioning and securing the sapling, watering, and choosing between autumn and spring timing. The figures are informative and baseline — always adjust them to your specific cultivar, soil, and climate.
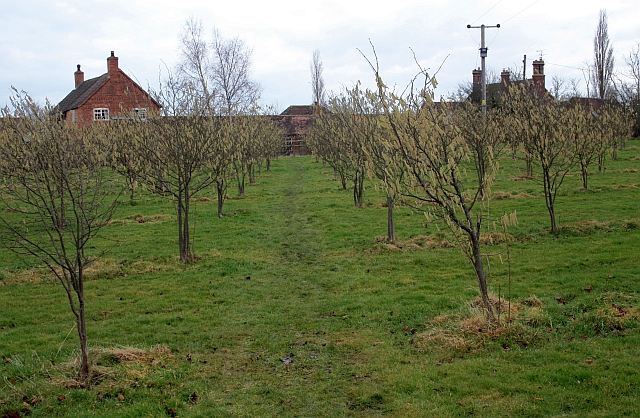
Quick overview: key figures
Before we dive into the details, here is a summary of the most important values that recur throughout professional literature. All are informative and depend on the cultivar, soil, and location.
| Parameter | Baseline Value | Note |
|---|---|---|
| Optimal Timing | autumn (late October – December) | spring is a backup timing |
| Spring Timing | late February – early March | before bud break |
| Hole Dimensions | 50 × 50 cm to 60 × 60 cm, depth 50–60 cm | larger on heavier/poorer soils |
| Planting Depth | exactly as in the nursery | root collar at soil level or up to 5 cm above |
| Spacing (bush vase) | 4 × 4 m or 4 × 5 m | standard trees 4 × 3 m |
| Hazelnut Root Depth | shallow, approx. 30 cm | therefore, DO NOT plant deep |
| Water at Planting | 20–40 l per sapling | even in moist soil |
| First Watering After Planting | ~7 days later | then periodically |
| Mulch | 3–5 cm layer | compost, sawdust, peat |
| Number of Cultivars for Pollination | at least 2–3 different | hazelnut is cross-pollinating |
Why timing is crucial
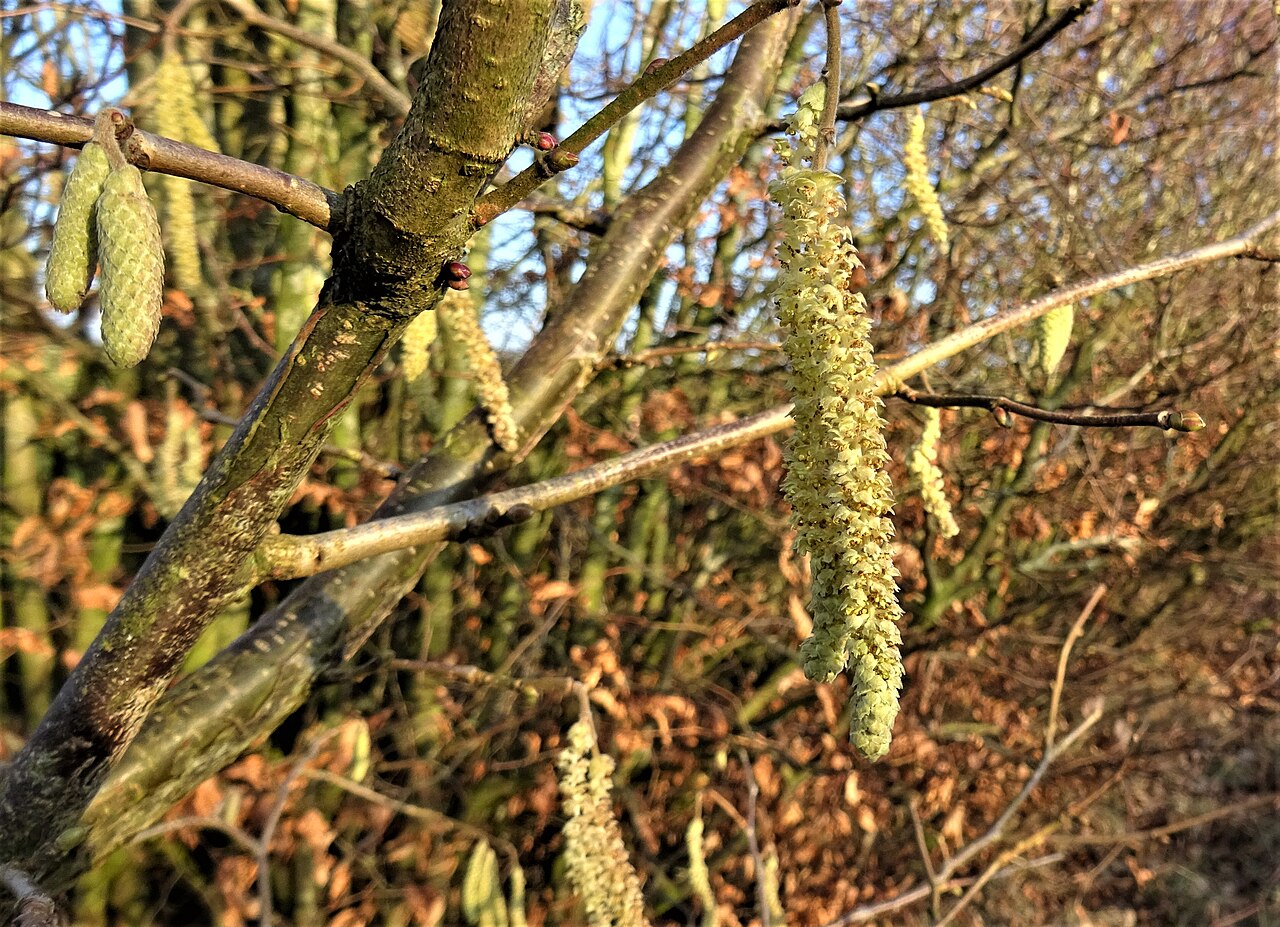
Hazelnut is a biologically unusual fruit crop: it flowers in winter, from December to March, i.e., before leafing out, and has a very short dormancy period. In spring, it starts vegetation very early. Therefore, the choice of planting timing is more important than for most other fruit species.
Autumn planting (recommended)
The vast majority of sources — including Croatian professional and economic studies — agree that autumn planting is optimal:
- Plant when the plant enters dormancy, approximately 2–3 weeks before the onset of permanent frosts, usually from late October onwards.
- By December, the sapling manages to develop a root system and "grab" the soil, so in spring it immediately starts growing without transplant shock.
- Winter precipitation and the freeze-thaw cycle naturally compact and loosen the soil around the roots.
- For autumn planting, deep plowing is done in late summer, so that the soil settles before planting.
Spring planting (backup timing)
Spring planting is less recommended, but is a valid alternative if the autumn timing is missed:
- It is done as early as possible, before the start of sap flow and vegetation — under Croatian conditions, best late February or early March.
- Since hazelnut starts early, the window is narrow; late spring planting is poorly established.
- Practical advice from literature: dig holes for spring planting in autumn, so that the soil becomes saturated with moisture and settles over winter.
- For the spring timing, deep soil cultivation can be done from summer to winter, as long as soil moisture allows.
Thumb rule for timing
If choosing: plant in autumn. Use spring only if you must, and then very early. Summer and late spring planting of bare-root stock usually fails due to early vegetation start and drought.
Site preparation before planting
Planting does not begin with a shovel at the hole, but months earlier with the preparation of the entire surface.
- Soil analysis. Before establishing the orchard, perform a pedological analysis. Based on this, a specialist determines the depth of subsoiling and the need for liming and ameliorative (base) fertilization. Optimal pH (KCl) is approximately 5.5–6.5, and preferred annual precipitation is around 700 mm or more.
- Clearing and leveling. Clear the surface of weeds, stumps, and stones (clearing) and level it.
- Ameliorative fertilization. According to recommendation, before subsoiling, spread NPK fertilizer (e.g., approx. in the order of 400 kg/ha NPK formulation rich in phosphorus and potassium, informative — always according to analysis and recommendation).
- Subsoiling / deep cultivation. Done when the soil is well dried (usually July – first half of August). Plowing depth is approx. 40–70 cm, deeper on dry and heavy soils.
- Marking planting sites. Precisely mark the locations of future saplings with stakes according to the chosen spacing, keeping in mind regular rows for later mechanized cultivation and harvest.
Planting spacing
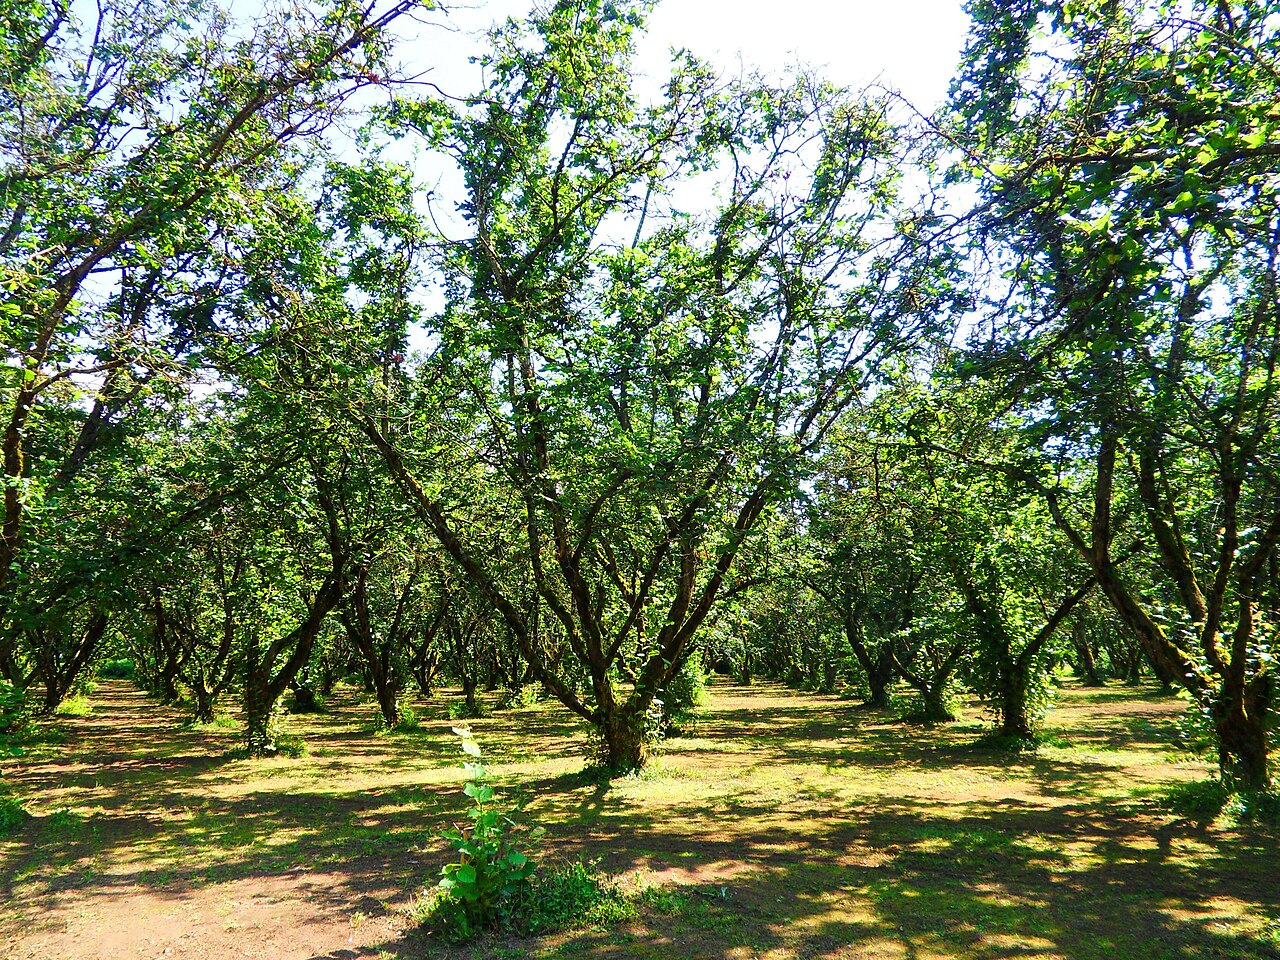
Spacing depends on the training form, mechanization, terrain slope, and cultivar. Baseline values:
| Training Form | Spacing (row × within row) |
|---|---|
| Bush vase (most common) | 4 × 4 m or 4 × 5 m |
| Standard tree (with trunk) | 4 × 3 m |
| On sloped terrain | smaller spacing |
When combining cultivars for pollination, the number of rows of one cultivar should be even, and cultivars should be alternated to ensure good cross-pollination. Since hazelnut is cross-pollinating and wind-pollinated, plant at least 2–3 different cultivars at one site that match in flowering time (since it flowers in winter, matching the flowering of the pollinizer is crucial).
Digging the hole
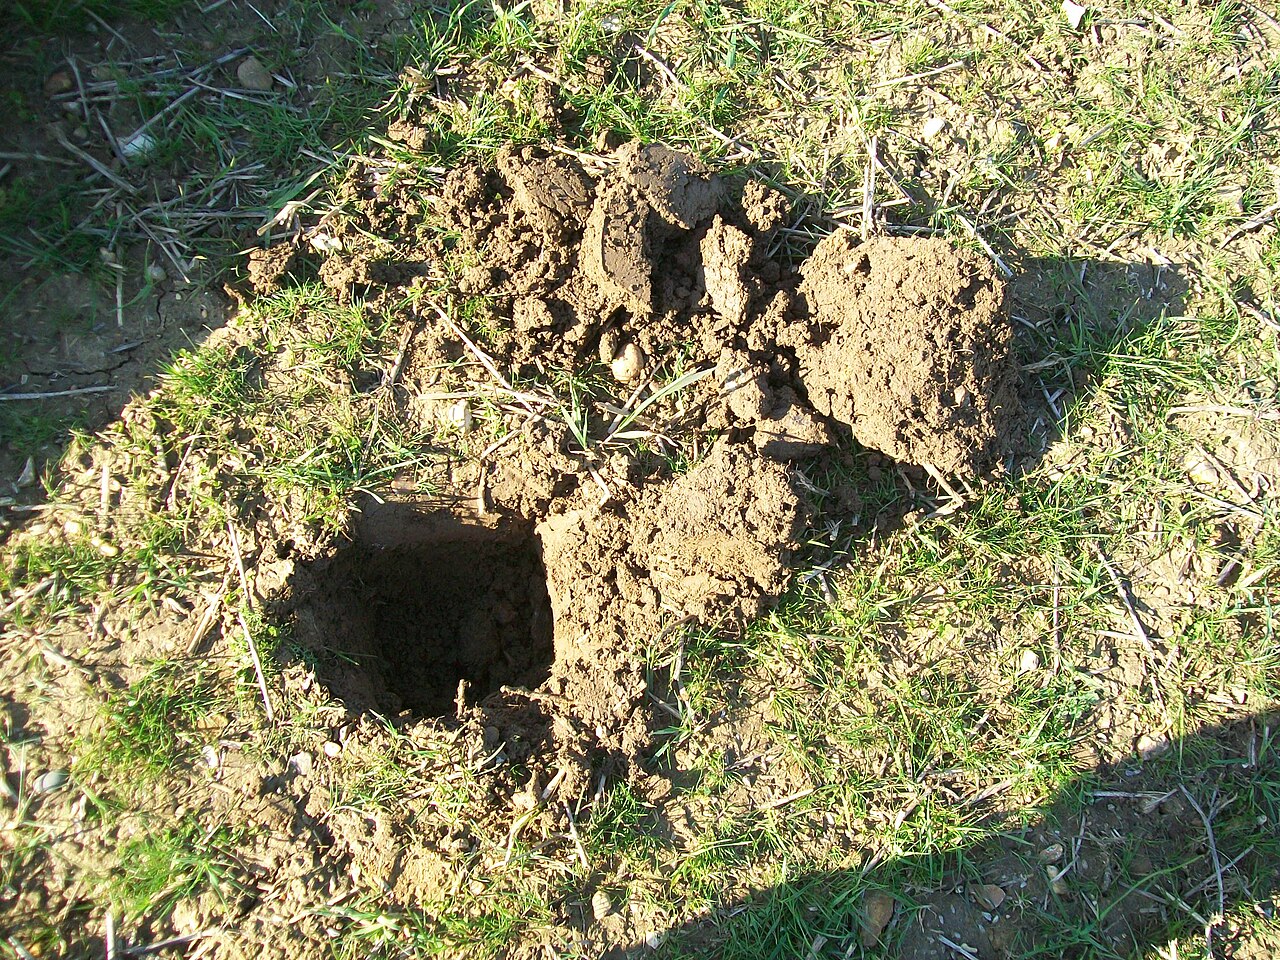
The hole must be large enough for the root to spread freely, but not excessively deep — because hazelnut develops a shallow root system (mainly in the layer up to about 30 cm).
Baseline hole dimensions:
- Width and length: 50 × 50 cm to 60 × 60 cm
- Depth: 50–60 cm
- On saturated, fertile soil, a smaller hole (approx. 0.5 × 0.5 m) is sufficient; on poorer and heavier soil, increase the hole size.
Practical procedure:
- Dig the hole several weeks before planting (for spring planting — even in autumn), so that the soil settles.
- When digging, separate the upper, fertile layer of soil from the lower, barren layer — return the upper layer with the root.
- On the bottom of heavier, poorly drained soils, a drainage layer can be placed (broken brick, expanded clay).
- Prepare the backfill mixture: mix the excavated fertile soil with mature organic fertilizer/compost and a small amount of phosphorus-potassium fertilizer. Informative quantities cited in literature per hole: approx. 5–10 kg of mature manure/compost, 150–200 g of superphosphate, and a small amount of potassium salt (e.g., ~50 g). These dosages are orientational and depend on soil analysis and cultivar.
- Fill the lower part of the hole with this mixture (approx. to half the volume) and form a mound in the center on which you will place the root.
Fertilizer and root must not be in direct contact
Mix mineral fertilizer (especially nitrogenous) with soil and place it under a layer of clean soil. The sapling's root must not sit directly on concentrated fertilizer as it can "burn" it. Do not place fresh (immature) manure next to the root.
Positioning the sapling and planting depth
This is the most important step and the place where mistakes are most common.
Choosing the sapling
- Use well-developed, healthy, and mature saplings, usually one-year-old or two-year-old, grown from root suckers (on own root) of the desired cultivar.
- Before planting, moisten the root system; traditionally, the root is dipped in a clay and water slurry (optionally with added mature manure). This improves root-soil contact and establishment rate.
- If necessary, very lightly refresh (trim) damaged root tips.
Correct depth — the golden rule
The sapling must be planted at the same depth at which it grew in the nursery.
On the sapling, the boundary of stem color is usually visible (darker "collar") to which it was in the soil. The reason is biological: hazelnut has shallow roots, so planting too deep leads to the development of superficial roots, decay of the primary root, and growth stagnation for up to three years. On the other hand, planting too shallow exposes the root to drying.
- Rule: the root collar (the place where the root transitions into the stem) should be at soil level or only up to about 3–5 cm above the surface, accounting for the settling of the backfilled soil.
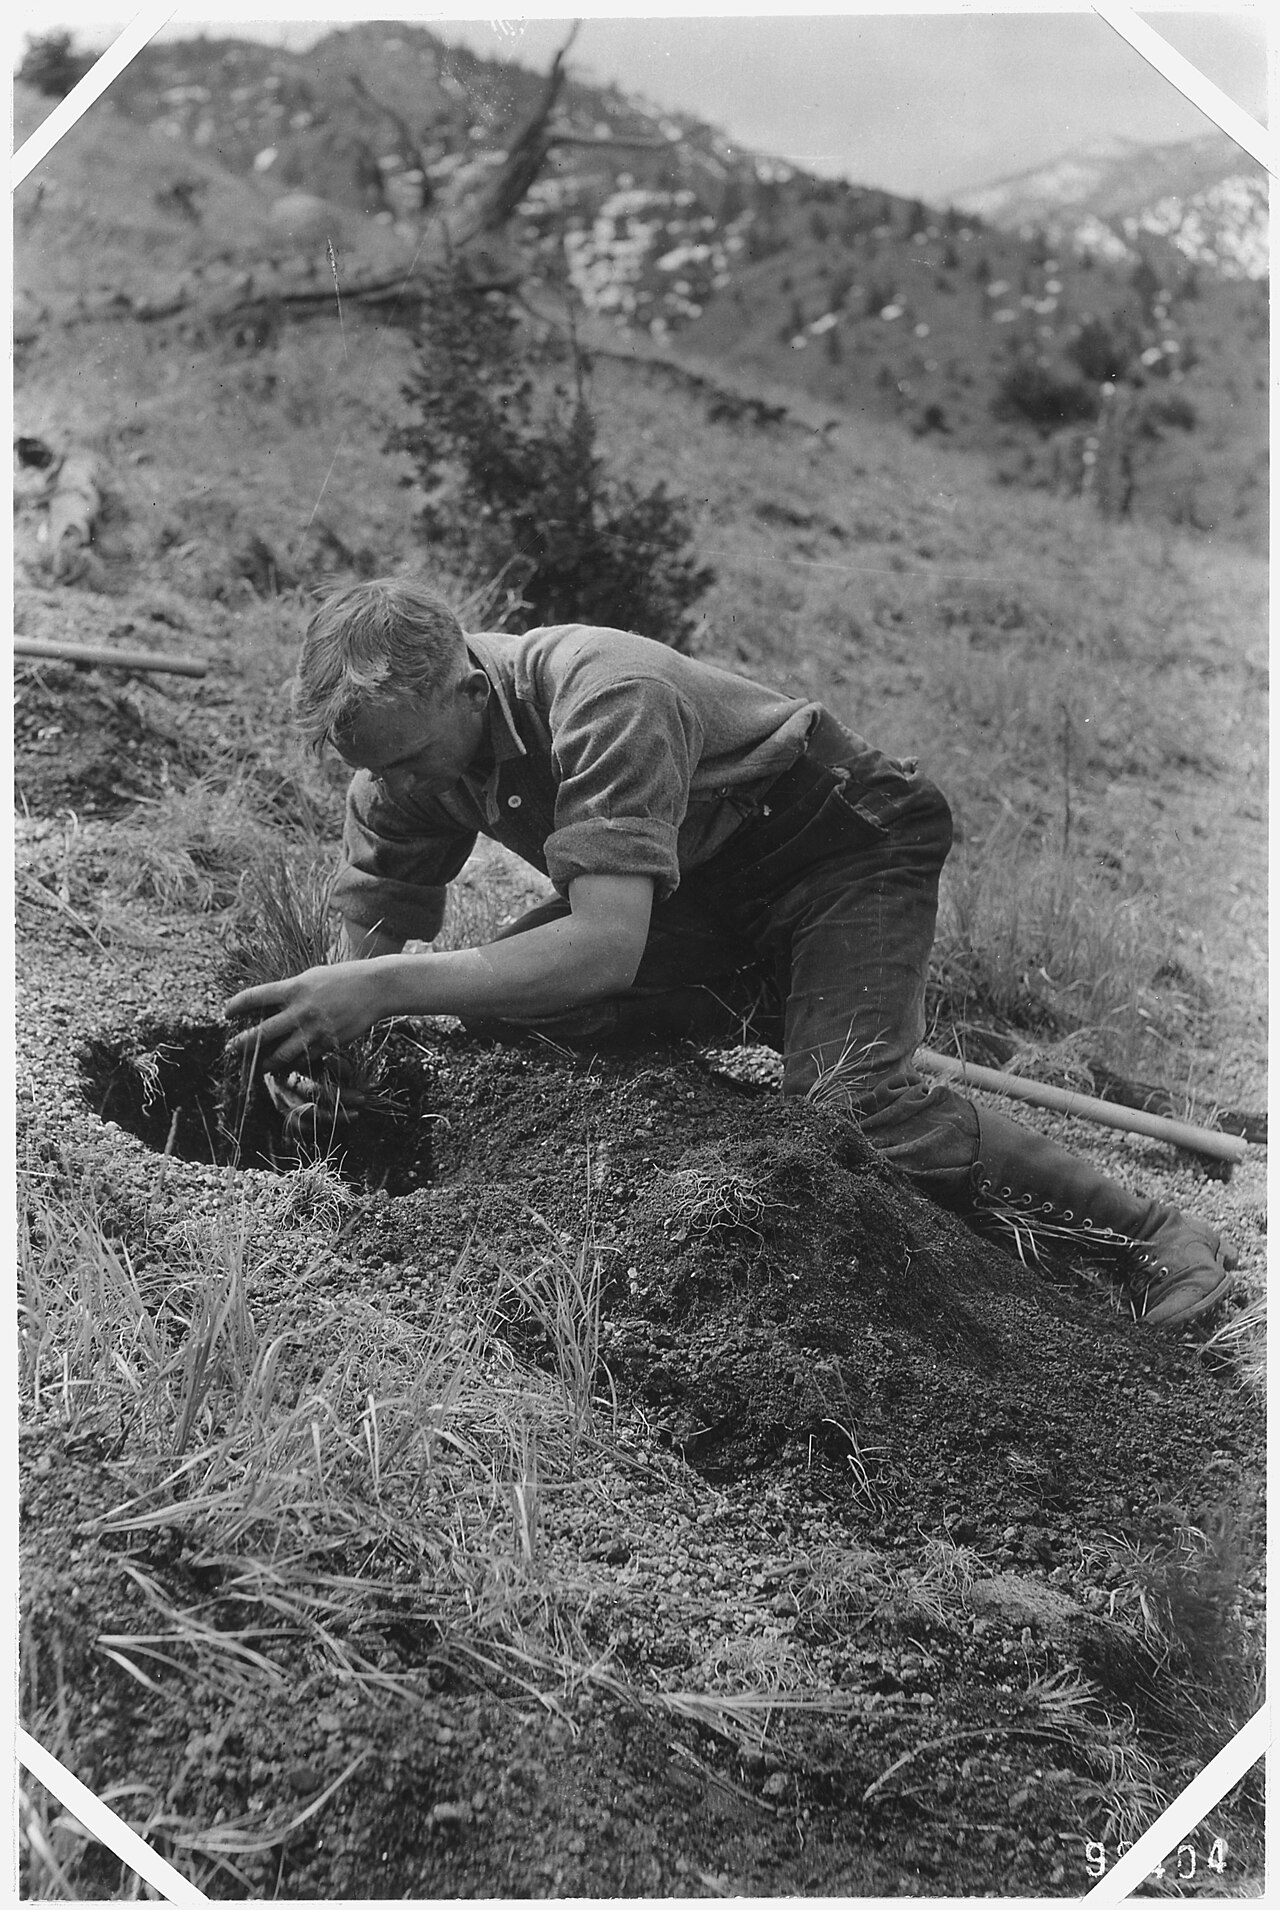
- Place the sapling on the prepared mound in the center of the hole and spread the root evenly down the slopes of the mound, without bending or curling.
Backfilling and securing
- While holding the sapling at the correct height, gradually backfill with fertile soil, gently shaking the sapling so that soil fills the voids between the roots (so that air pockets do not remain).
- The soil around the root must be tamped (compacted) with the foot, but without breaking the root, so that the root achieves firm contact with the soil.
- Stake: drive a stake next to the sapling and tie it loosely ("figure-eight" so that the tie does not cut the bark). The stake ensures upright growth and protects the young sapling from wind. Many sources recommend driving the stake into the hole before planting the sapling.
- Protection from wildlife: in areas with wildlife, place protective mesh/cage around the sapling against hares and large game.
Trick for better establishment
More sources recommend adding a few handfuls of soil taken from under an old, forest hazelnut to the hole at planting — this soil contains mycorrhizal fungi beneficial for hazelnut and helps with better establishment.
Irrigation after planting
Water is essential after planting — regardless of whether the soil is moist or dry.
Irrigation at the time of planting
- Immediately water the planted seedling generously. Informative quantities from literature range from 20–40 liters per seedling (some sources cite up to 30–50 l per shrub), even when the soil is moist.
- Pour the water gradually, in portions, so it absorbs and does not pool.
- Once the water has absorbed and the soil has settled, add soil as needed to ensure the root collar remains at the correct height.
Mulching
Immediately after watering, cover the area around the trunk with mulch:
- Material: humus, sawdust, peat, straw, dry leaves.
- Layer thickness: 3–5 cm (some sources cite 30–50 mm).
- Mulch retains moisture, suppresses weeds, and moderates soil temperature fluctuations.
Irrigation in the first weeks and years
| Phase | Frequency / Quantity (informative) |
|---|---|
| First irrigation after planting | approximately 7 days after planting |
| First year, vegetation | regular; roughly 5–6 irrigations per season, ~once a month |
| Per irrigation (mature shrub) | ~60–80 l of water per tree (young seedlings require less) |
| Dry periods | more frequent and abundant |
| Wet periods | omit irrigation |
Hazelnut loves moisture, and the highest water demand occurs during the vegetation period (roughly April–September). Water deficiency during this period negatively affects the formation of flower buds and kernel quality. However, avoid waterlogging — water should reach and absorb into the soil, not stand. One day after irrigation or rain, it is beneficial to shallowly loosen the surface (break the crust), being careful not to damage the shallow root system.
Pruning after planting
After planting (depending on the training system and source), young seedlings are often pruned to encourage branching:
- For bush forms, pruning is recommended to 20–30 cm above ground level.
- The seedling is typically pruned in early spring before bud break, not in autumn (for autumn planting).
Common mistakes and how to avoid them
- Planting too deep. The most common and costly mistake — leads to growth stagnation for up to three years. Always plant at the depth found in the nursery.
- Wrong timing. Late spring or summer planting is poorly tolerated due to hazelnut's early bud break. Prefer autumn planting.
- Only one cultivar. Without pollinizers (2–3 different, temporally synchronized cultivars), yield is absent because hazelnut is cross-pollinating.
- Fertilizer near roots. Concentrated mineral or fresh organic fertilizer in direct contact with the root causes "burns." Always mix with soil and cover with a layer of clean soil.
- Skipping irrigation "because the soil is moist". Water even moist soil — water settles the soil around the root and removes air pockets.
- Air pockets. Careless backfilling leaves voids; shake the seedling and compact the soil.
- Unprotected seedling. Without a stake and (where necessary) netting, seedlings suffer from wind and wildlife.
- Excessive hole depth for shallow roots. The hole is for loosening and nutrients, not for deep burial of the root.
Summary of work sequence
- Soil analysis → liming and ameliorative fertilization (months in advance).
- Clearing, leveling, ridging (late summer for autumn planting).
- Marking planting sites with stakes according to spacing.
- Digging holes 50–60 cm deep (several weeks in advance), separating the topsoil.
- Filling the bottom of the hole with a mixture of soil, humus, and P-K fertilizer; forming a mound.
- Preparing the seedling: dipping roots in clay slurry.
- Placing the seedling at nursery depth, spreading the roots.
- Backfilling with topsoil, compacting, installing stake and tie.
- Generous irrigation (20–40 l) + mulching (3–5 cm).
- Protection from wildlife; pruning in early spring.
Gallery
Sources
This article is an AI-generated summary created from an internal literature collection on hazelnut (RAG corpus) and supplemented with public web sources. The content consolidates Croatian and foreign (including translated) sources; numerical data are informative and vary among sources. Main sources used:
- Ministry of Agriculture of the Republic of Croatia — Advisory Service: From planting to hazelnut harvest — https://savjetodavna.mps.hr/2017/10/24/od-sadnje-do-berbe-lijeske/
- Ministry of Agriculture of the Republic of Croatia: Hazelnut cultivation — guide (RAG corpus, PDF)
- HAZELNUT — From planting to harvest, cultivation tips (RAG corpus)
- Economic analysis of hazelnut production (2023, RAG corpus)
- Investment study for hazelnut production (2019, RAG corpus)
- Mechanization in hazelnut production and processing (2021, RAG corpus)
- Establishing a permanent hazelnut orchard / environmental protection elaborates (BBZ, RAG corpus) — https://bbz.hr/
- Vrtlarica.hr — Hazelnut: planting and cultivation — https://www.vrtlarica.hr/sadnja-uzgoj-lijeske/
- AgroPortal.hr — Planting hazelnut — https://www.agroportal.hr/vocarstvo/29701
- Danon.hr — Planting hazelnuts in autumn — https://danon.hr/sadnja-lijeski-u-jesen/
- Stark Bro's — Planting Filbert/Hazelnut Trees — https://www.starkbros.com/growing-guide/how-to-grow/nut-trees/filbert-hazelnut-trees/planting
- Growing Hazelnuts — Filbert Orchard Planting 101 — http://www.growinghazelnuts.com/hazelnut-farming-101/
- USU Extension — Hazelnuts in the Home Orchard — https://extension.usu.edu/yardandgarden/research/hazelnuts-in-the-home-orchard
- West Coast Nut — Orchard Layout in Hazelnut — https://wcngg.com/2021/10/01/orchard-layout-in-hazelnut-take-orchard-spacing-variety-and-equipment-into-consideration/
- Various translated horticultural sources from the corpus (flwn.tomathouse.com, hor.manteton.com, hr.jardineriaon.com, etc.)