Practical Guide: How to Design a Pollinator Scheme for Your Orchard (Working Layout Examples)
Content generated by artificial intelligence — verify before application
This article was automatically compiled from a collection of hazelnut literature with the help of artificial intelligence and may contain errors or outdated data. It serves as a starting point for further research, not as professional advice. Dosages, products, and timing are informative and depend on the cultivar, location, and current regulations — always verify with an advisory service and official sources before application.
The choice of cultivars and their arrangement in the orchard is made only once — at the time of planting — and you will bear the consequences for the next 30 to 50 years. A poorly designed pollinator scheme is the most expensive mistake in hazelnut cultivation: trees grow, consume water, fertilizer, and labor, but fruit production fails because the female flowers of the main cultivar do not receive compatible pollen at the right time. This guide combines pollination biology, genetics of incompatibility (S-alleles), and practical orchard design into several ready-to-use layout schemes that you can directly apply to your plot, along with a simple pollinator share calculator.
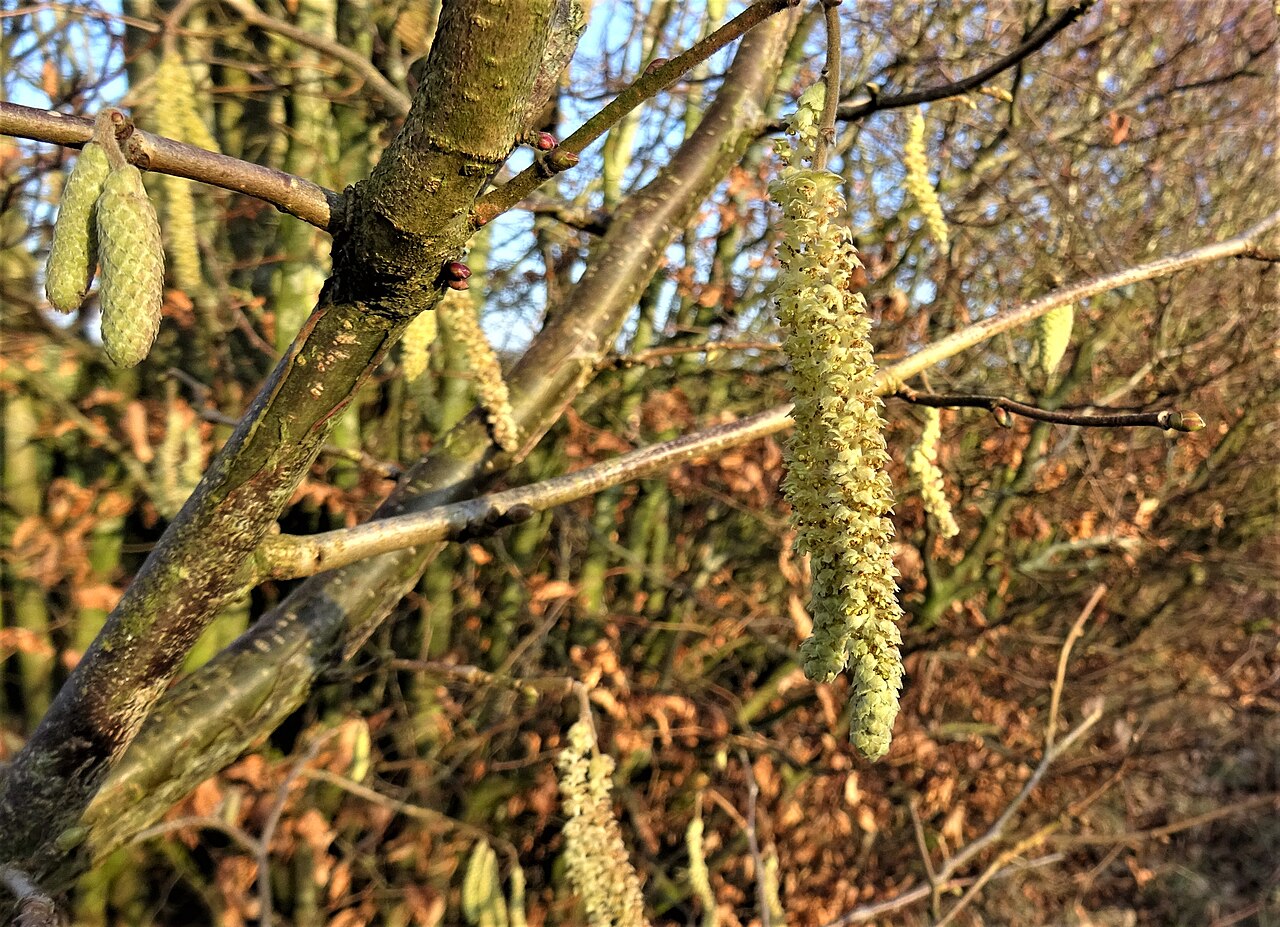
Why the pollinator scheme is critical: a brief reminder of biology
Hazelnut (Corylus avellana) is a monoecious plant — both male flowers (catkins, catkins) and female flowers are found on the same tree. Despite this, the vast majority of cultivars are self-incompatible (autosterile): their own pollen cannot fertilize their own female flowers. Therefore, other cultivars producing compatible pollen — pollinizers — are essential in every orchard.
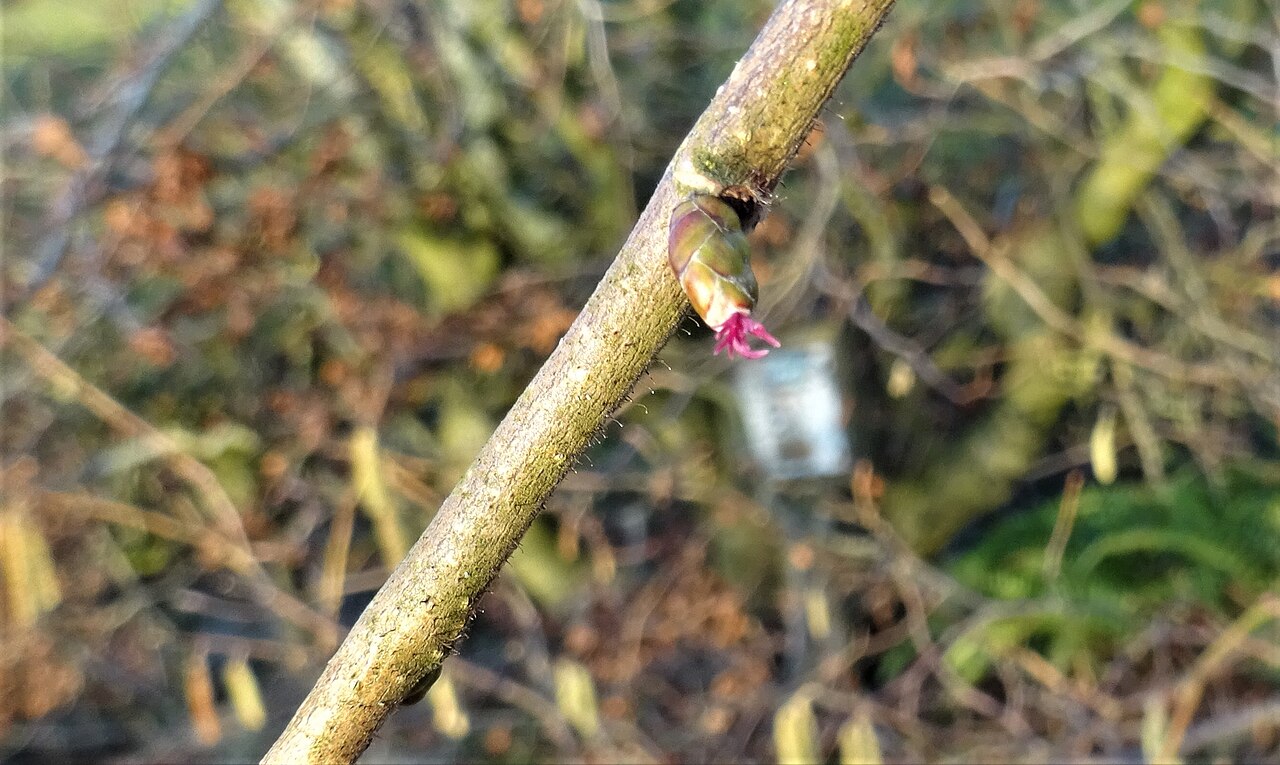
From our corpus (source untitled / HAZELNUT PLANTING): "Hazelnut cultivars are self-sterile. They require other cultivars that produce compatible pollen (pollinizers). The male flowering (catkins) of the pollinizer must overlap with the female flowering of the main cultivar." In other words, it is not enough to simply have two cultivars — their flowering phenophases must overlap.
Three facts that shape every scheme:
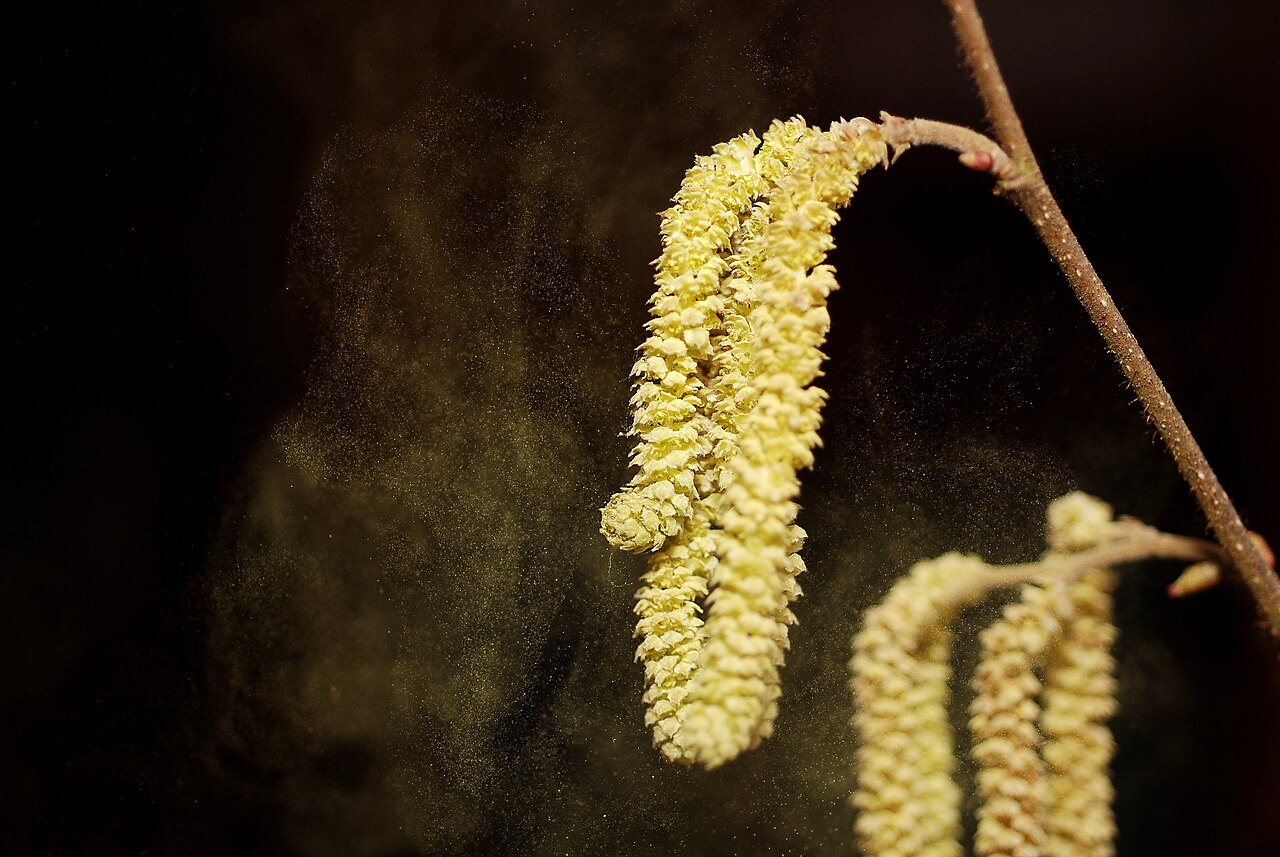
- Pollination is wind-driven (anemophilous). Pollen is transported by air, with no reliance on bees. This means that layout, row direction, and prevailing winds directly impact success.
- Flowering lasts long, but unevenly. From the corpus (Good hazelnut harvest depends on good pollination, 2015.): flowering can last 3–4 weeks, averaging 9–10 days, with duration influenced by weather conditions. Hazelnut blooms in mid-winter/early spring (often January–February), when weather is unstable — hence the need for security in the number of pollinizers.
- Pollen travels far, but pollen cloud density drops quickly with distance. Although wind can carry pollen up to 1 km, effective fertilization is achieved only when pollinizers are nearby. From the corpus (HAZELNUT CULTIVATION, book): "Place pollinizers at distances up to 30 m… much better results are achieved when pollinizers are at smaller intervals."
S-alleles: why "two cultivars" are not always enough
Incompatibility in hazelnut is controlled by a single genetic locus with a series of alleles called S-alleles (sporophytic self-incompatibility, SI). Each cultivar carries two S-alleles. Pollen is incompatible with any tree sharing at least one of these alleles — regardless of whether the cultivars are different in name and appearance.
Practical consequences for orchard design:
- Two different cultivars can be mutually incompatible if they share an S-allele. Therefore, never rely solely on the rule "plant two cultivars."
- Incompatibility can be one-way. Cultivar A may pollinate Cultivar B, but not vice versa. Therefore, it is recommended to use multiple pollinizers with different S-genotypes.
- Allele dominance in pollen changes the actual outcome, so compatibility in practice is verified using published S-genotype tables and recommended pollinizers (e.g., OSU tables and provincial service recommendations).
Practical Rule
Do not choose pollinizers "by eye." For the main cultivar, obtain an S-genotype table / recommended pollinizers list (e.g., from a nursery, advisory service, or university sources) and select at least 2, preferably 3 pollinizers that are (a) compatible with the main cultivar and (b) different from each other, and (c) spaced out by pollen release time (early / mid / late).
Pollinator share calculator: how many are needed?
Literature provides a range, not a single number. You must balance sufficient pollen coverage with the fact that pollinizers often produce less or less valuable fruit than the main cultivar.
Summary from corpus and web:
| Source | Recommended Pollinator Share | Max Distance |
|---|---|---|
| HAZELNUT CULTIVATION (book, HR) | up to 25 % (no more) | up to 30 m |
| What are the ideal pollinizers (agronomist, BiH) | 20–30 % | up to 30 m |
| OSU Extension / BC (3×3 scheme) | ~11 % (every 3rd tree in every 3rd row) | < 15 m optimal |
| Technological Features, PP Orahovica (HR practice) | 20 % (4 main rows : 1 pollinator row) | row to row |
A range of ~10 % to 30 % is visible. The value you choose depends on:
- Reliability of flowering weather at the location (unstable winter → more pollinizers, towards 20–25 %).
- Market value of the pollinizer as a crop. If the pollinizer produces marketable fruit, it is easier to aim for 20–25 %. If the pollinizer has low market value, aim for the lower end of the range (10–15 %) with a denser, smarter layout.
Simple Calculation
- Total number of trees = area (ha) × density (trees/ha). Typical Croatian intensive density: 500 trees/ha (spacing 5 × 4 m), according to multiple sources in the corpus (PP Orahovica; elaborates).
- Number of pollinizers = total number of trees × target share (e.g., 0.20).
- Number of main trees = total − pollinizers.
Working Example (5 ha, 500 trees/ha, 20 % pollinizers):
| Item | Calculation | Result |
|---|---|---|
| Total Trees | 5 ha × 500 | 2,500 |
| Pollinizers (20 %) | 2,500 × 0.20 | 500 |
| Main Cultivar | 2,500 − 500 | 2,000 |
| Split Pollinizers into 3 Cultivars | 500 / 3 | ~167 each (e.g., early/mid/late) |
For comparison, in the "every 3rd tree in every 3rd row" (3×3) scheme, the share drops to ~1/9 ≈ 11 %, which on 2,500 trees gives ~278 pollinizers. This layout is very pollen-efficient (a pollinizer is near every tree), so a smaller share may be sufficient.
Row Direction and Prevailing Wind
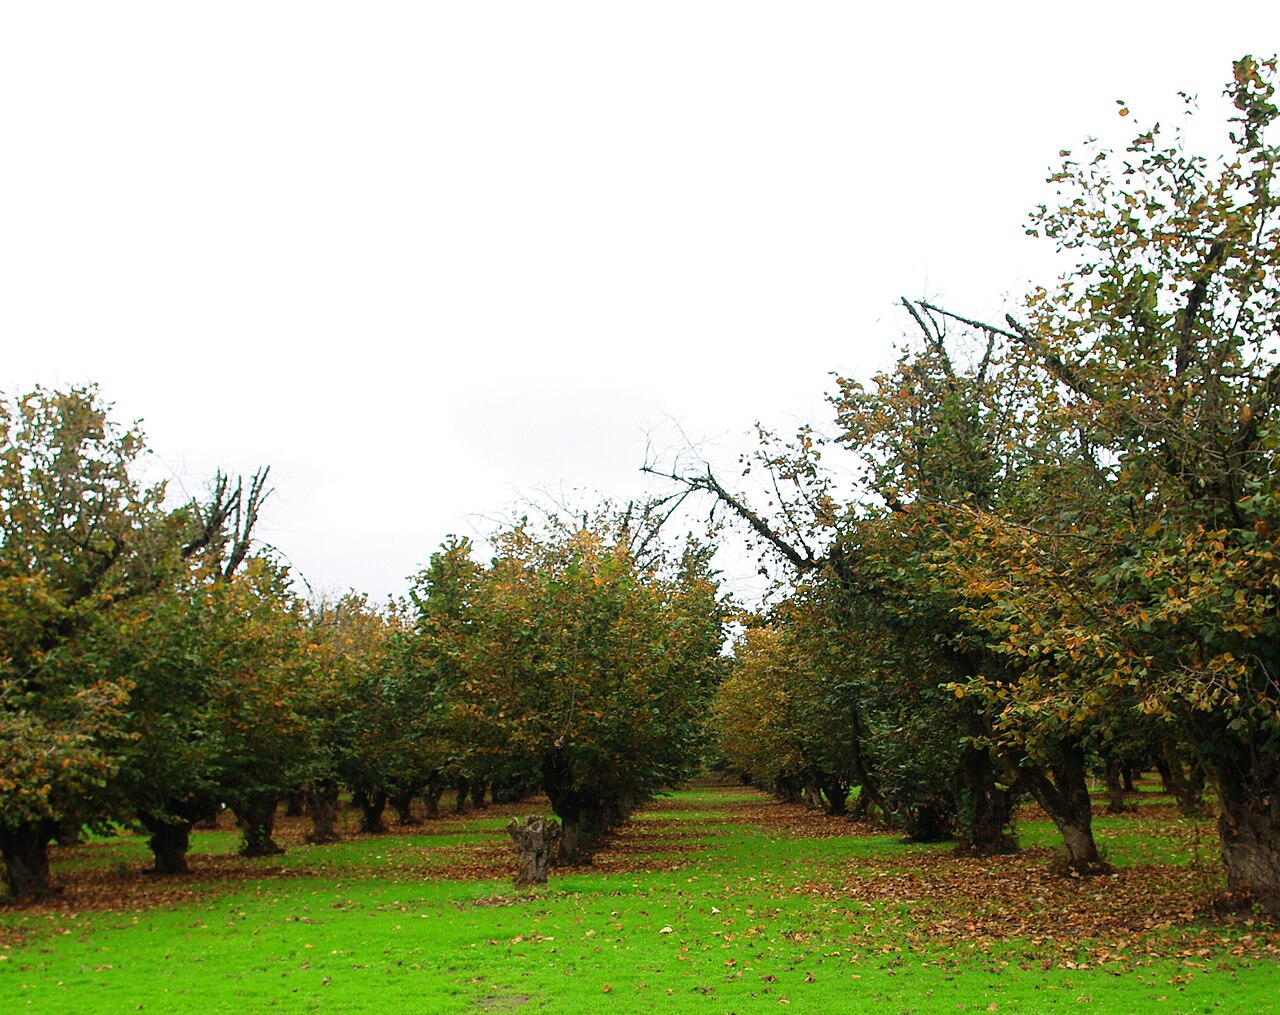
Since pollination is wind-driven, the direction of the prevailing wind during flowering (winter/early spring) is an important input. Web sources (OSU, BC) emphasize: distance is the most important factor regarding pollinizers relative to main trees, and pollinizers should be distributed throughout the orchard, not planted in dense, solid rows on one edge.
Practical guidelines:
- Do not place all pollinizers on one edge (e.g., only on the northern boundary). If the wind blows from another direction during critical flowering days, the opposite end of the orchard will remain without pollen.
- If you must concentrate pollinizers on the edge (e.g., due to mechanized harvesting of the main cultivar), place them on the windward side — the side from which the prevailing wind blows during the flowering period — so that the pollen cloud sweeps over the orchard.
- Row orientation is usually chosen primarily based on terrain slope, erosion, lighting, and machinery movement; wind is a secondary, but useful, corrective factor when deciding where pollinizers go within that orientation.
- Proximity to wild hazelnut (forest edges) can aid pollination, but one should not rely on it as the sole pollen source — wild cultivars bloom unpredictably and may not be compatible.
Ready-made Layout Schemes (Working Examples)
The following are three standard patterns. In all schemes: G = main cultivar, O / O1 / O2 / O3 = pollinizers (preferably with different flowering periods).
Scheme A — "3×3" (every 3rd tree in every 3rd row)
Best pollen coverage; each pollinizer is surrounded by main trees on all sides. Suitable for cultivars where the pollinizer has lower market value, allowing for a small share (~11 %) with maximum efficiency.
Row 1:  G  G  G  G  G  G  G  G  G
Row 2:  G  G  G  G  G  G  G  G  G
Row 3:  G  G  O  G  G  O  G  G  O
Row 4:  G  G  G  G  G  G  G  G  G
Row 5:  G  G  G  G  G  G  G  G  G
Row 6:  G  G  O  G  G  O  G  G  O
- Pollinator share: ~1/9 ≈ 11 %.
- At 5 × 4 m spacing, the maximum distance from a main tree to a pollinizer remains within ~10–12 m — significantly below the 30 m limit.
- Tip: Rotate O1/O2/O3 among pollinizer positions so that each main tree has at least two different flowering periods nearby.
Scheme B — "1 pollinator row every N rows" (e.g., 1 in 4–5)
Easiest to plant and record; suitable when the pollinizer is also harvested as a separate product. This is the pattern used by PP Orahovica (from corpus: "four rows of the base cultivar Rimski and one row of pollinizer, cultivar Istarski duguljasti").
Row 1:  G  G  G  G  G  G  G  G
Row 2:  G  G  G  G  G  G  G  G
Row 3:  G  G  G  G  G  G  G  G
Row 4:  G  G  G  G  G  G  G  G
Row 5:  O  O  O  O  O  O  O  O   <- entire pollinator row
Row 6:  G  G  G  G  G  G  G  G
...
- Pollinator share: 1 / (N+1). For 1 row per 4 main rows → 1/5 = 20 %; for 1 row per 5 → ~17 %.
- Risk: Main trees in the middle of the block are furthest from the pollinator row. At 5 m row spacing and a block of 4 main rows, the furthest tree is ~10 m from the nearest pollinator row — still acceptable, but do not go to blocks of 6+ main rows.
- Improvement: Mix O1/O2/O3 within the pollinator row (e.g., alternating) to cover the entire flowering period.
Scheme C — Diagonal Layout
A compromise between pollen coverage and simplicity; pollinizers "slide" diagonally through the orchard, scattered in both directions. Web sources (OSU/BC) explicitly recommend the diagonal as a good way to spread each cultivar throughout the entire orchard.
Row 1:  O  G  G  G  G  O  G  G  G  G
Row 2:  G  O  G  G  G  G  O  G  G  G
Row 3:  G  G  O  G  G  G  G  O  G  G
Row 4:  G  G  G  O  G  G  G  G  O  G
Row 5:  G  G  G  G  O  G  G  G  G  O
- Pollinator share: ~1/5 = 20 % in the example shown (every 5th position on a shifted diagonal); thinning to every 7th–9th position lowers the share to 11–14 %.
- Advantage: No main tree is "trapped" far from all pollinizers; pollen comes from multiple directions, making it less sensitive to changing winds.
- Tip: For three pollinizers, run three parallel diagonals (one for O1, one for O2, one for O3).
Comparative Table of Schemes
| Criterion | A: 3×3 | B: 1 row in N | C: Diagonal |
|---|---|---|---|
| Typical Pollinator Share | ~11 % | 17–20 % | 11–20 % |
| Pollen Coverage | Very Good | Average (block edges) | Good |
| Planting/Record Simplicity | Medium | Easiest | Hardest |
| Resilience to Changing Wind | High | Lower | High |
| Harvesting Pollinizers as Separate Product | Harder (scattered) | Easy (entire rows) | Harder |
| Recommendation for | Low-value pollinizer | Market-value pollinizer | Universal |
| ## Step-by-step: How to design your own pollinizer scheme |
- Select the main cultivar based on climate, market, and mechanization (HR examples: Rimski, Istarski duguljasti; in warmer/Adriatic conditions, also Tonda Gentile delle Langhe, Tonda di Giffoni, etc.).
- Obtain the S-genotype / compatible pollinizer table for that main cultivar.
- Select 2–3 pollinizers that are (a) compatible, (b) genetically distinct from each other, and (c) cover early / mid / late pollen shedding periods.
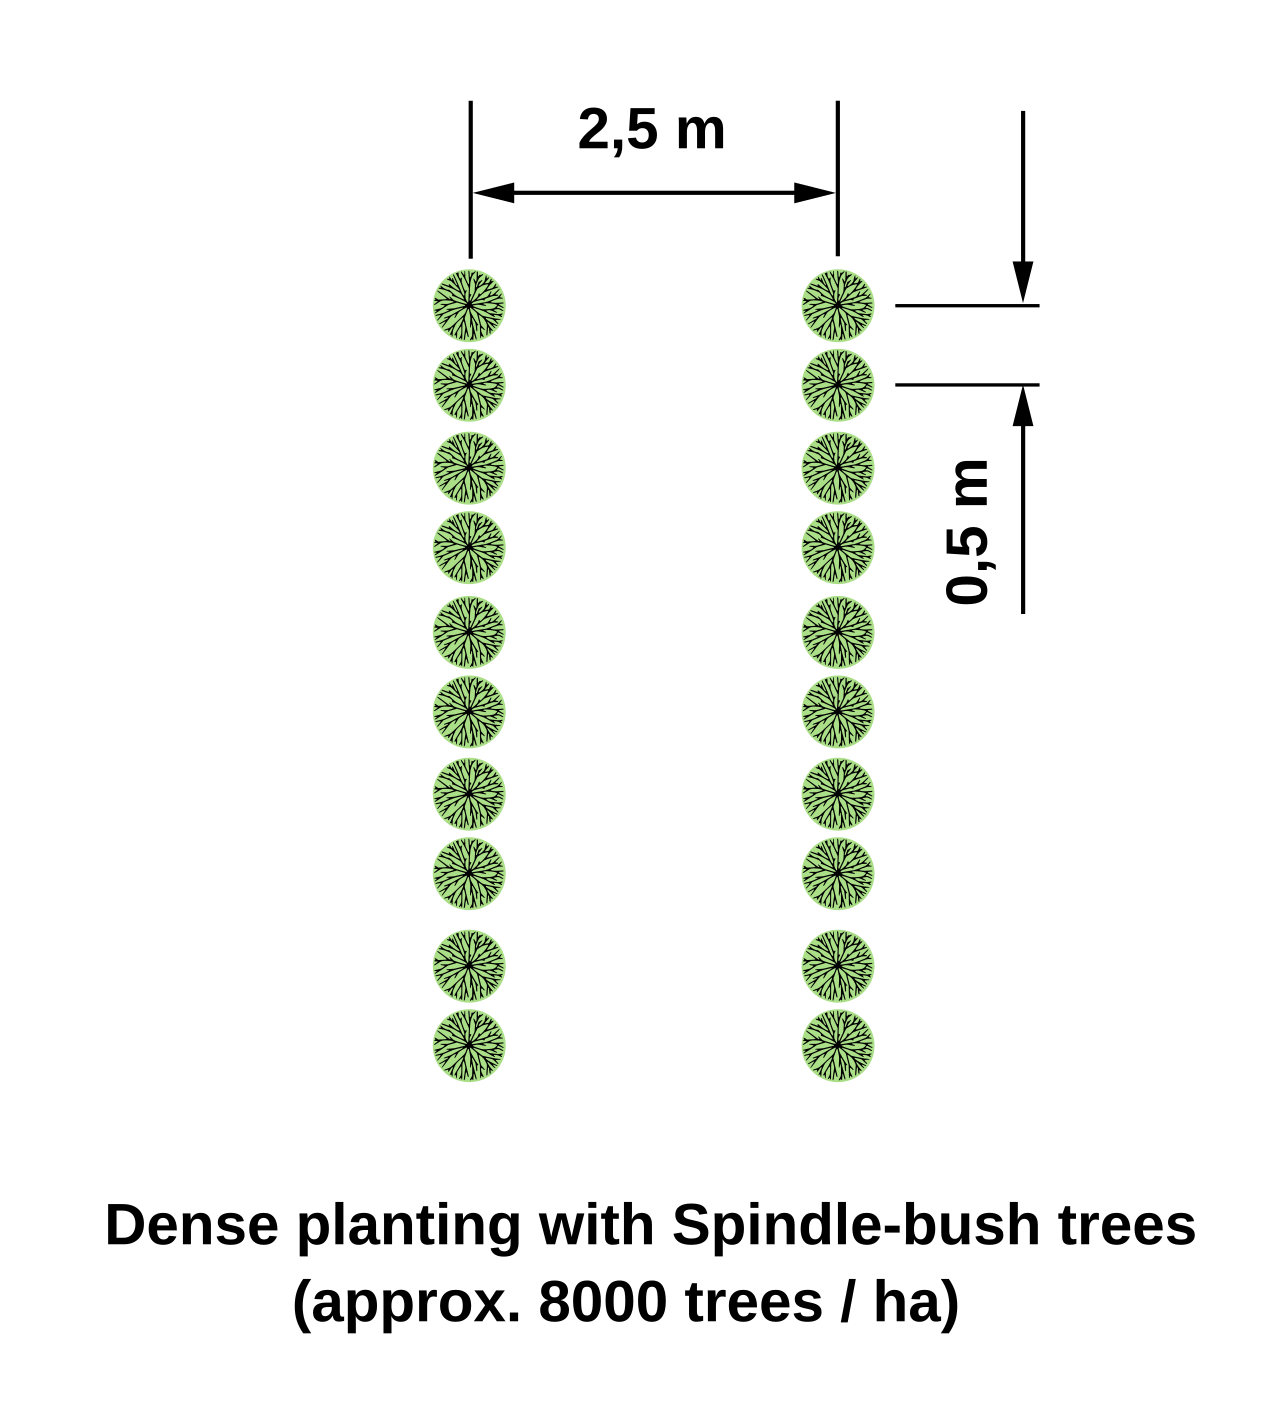
- Determine density and spacing (HR standard: 5 × 4 m ≈ 500 trees/ha; denser Moulis systems go up to 2,000–6,600 trees/ha — adjust the scheme accordingly).
- Select the target proportion of pollinizers (10–25 %), depending on the value of the pollinizer and the reliability of flowering.
- Select a pattern (A/B/C) and draw it on graph paper or in a spreadsheet for the entire parcel, ensuring every main tree is within < 15 m (ideally < 10–12 m) of the nearest pollinizer.
- Check wind direction: if you concentrate pollinizers, place them on the windward side; otherwise, scatter them.
- Mark the plan (planting map) and keep it — you will need it for pruning, harvesting, and potential future grafting/replanting of pollinizers.
Common mistakes
- Only one pollinizer. If its flowering misses that year or it is incompatible in one direction — the crop fails. Always use 2+.
- Pollinizers located in one corner of the orchard. The center and opposite edge remain without pollen under unfavorable wind conditions.
- Ignoring S-alleles. "Two different cultivars" may be mutually incompatible. Check the tables.
- Main cultivar blocks too large (e.g., 8+ rows without pollinizers). Trees in the middle are too far from the pollen source.
- Assuming wild hazel will solve everything. It is useful as a supplement, not as a plan.
- Mismatched phenological stages. The pollinizer must shed pollen exactly when the female flowers of the main cultivar are receptive — hence the need for early/mid/late types.
Note on figures
All percentages, distances, and proportions listed are informative and represent ranges from literature and practice. Final values depend on the cultivar, S-genotypes, location, mechanization, and applicable regulations — align them with advisory services and verified compatibility tables.
Gallery
Sources
This article is an AI summary from an internal hazelnut literature collection (RAG corpus) and public sources. Main sources used:
RAG corpus (hazelnut literature):
- CULTIVATION OF HAZELNUT (book, HR, 2017.) — pollinizer proportion up to 25 %, pollinizers up to 30 m.
- Which are the most ideal pollinizers and what are the strategic planting sites for hazelnuts? (agronom Lejla Grbo, 2023.) — recommendation 20–30 % pollinizers, max. 30 m.
- PLANTING HAZELNUT / Selection and arrangement of pollinizers in the field (corpus "untitled") — self-incompatibility, matching of male and female flowering periods, multiple pollinizers of different periods.
- Technological and economic characteristics of hazelnut cultivation (2018.) — https://doi.org/10.46584/lm.v36i2.1141 — PP Orahovica: 500 plants/ha, 5 × 4 m, arrangement 4 rows main (Rimski) : 1 row pollinizer (Istarski duguljasti).
- Establishment of a permanent hazelnut orchard (elaborate, BBZ, 2020.) — https://bbz.hr/doc/uprava/elaborat_zastite_okolisa_visegodisnji_nasadi_lijeske_i_sljive.pdf — 500 plants/ha, 5 × 4 m, ratio Rimski 80 % : Istarski duguljasti 20 %.
- Economic comparison of different hazelnut cultivation system forms (2015.) — conventional 500 seedlings/ha (5 × 4 m); Moulis 2,000–6,600 seedlings/ha.
- Good hazelnut yield depends on good pollination (2015.) — flowering duration, weather impact, artificial pollination.
- State and trends in production (2017.) — https://doi.org/10.31727/gzb.42.3.9 — most commonly 1–2 main cultivars and 2–3 pollinizers.
Public web sources:
- OSU Extension — Growing Hazelnuts in the Pacific Northwest: Orchard Design (EM 9077) — https://extension.oregonstate.edu/catalog/em-9077-growing-hazelnuts-pacific-northwest-orchard-design
- OSU Extension — Pollination and Nut Development (EM 9074) — https://extension.oregonstate.edu/catalog/pub/em-9074-growing-hazelnuts-pacific-northwest-pollination-nut-development
- Province of British Columbia — Hazelnut Orchard Design: Pollinizers — https://www2.gov.bc.ca/gov/content/industry/agriculture-seafood/agriservice-bc/production-guides/hazelnuts/hazelnut-orchard-design/pollinizers
- West Coast Nut — Orchard Layout in Hazelnut — https://wcngg.com/2021/10/01/orchard-layout-in-hazelnut-take-orchard-spacing-variety-and-equipment-into-consideration/
- Hazelnut Growers' Association of New Zealand — Pollenizer management in a hazelnut orchard — https://hazelnut-growers.org.nz/2003/07/24/pollenizer-management-in-a-hazelnut-orchard/